Sound Machine Room Acoustics: Your Setup Playbook
By Noor Al-Masri • 31st Mar
Sound machine room acoustics and nursery environment sound optimization aren't just about hitting "play"; they are about understanding how a small, hard-surfaced room can transform white noise from soothing into jarring, and how a few measured choices turn chaos into consistent rest. This playbook translates acoustic science into a repeatable, two-minute room reset that works whether you're in your own nursery, a relative's guest room, or a hotel on a red-eye.
1. Measure Your Room's Dimensions and Shape First
Before placing a single device, know your room. Measure the length, width, and height in feet. Write them down. A room's size and shape determine how sound behaves, whether white noise will feel even and calming or boomy and uneven. Smaller rooms (under 100 square feet) compress sound waves, often creating buildup in the bass range. Larger rooms disperse it more evenly but may require higher volume to mask external noise.
Avoid centering your listening position (the crib) in the exact middle of the room's length. Instead, position it at about 38 percent of the room's length from the front wall. This placement reduces the harshest standing waves (frequencies that pile up and create muddy, unpredictable sound). If your room is 12 feet long, place the crib roughly 4.5 feet from the front wall.
Shape matters too. Square rooms are trickier than rectangular ones because sound bounces symmetrically, amplifying certain frequencies. If you're stuck with a square nursery, offset furniture slightly to break that symmetry (a dresser angled rather than parallel to a wall helps scatter sound rather than concentrate it).
2. Identify First Reflection Points and Hard Surfaces
Hard surfaces (bare drywall, tile, glass, hardwood) bounce sound directly. Use the mirror trick: sit in the crib's position and have someone hold a mirror against the walls, slowly moving it until you see the sound machine's reflection. Mark those spots. These are first reflection points where sound bounces straight toward the baby's ears. Hard surfaces at these points amplify peaks, making white noise sound harsher.
Count your hard surfaces: bare walls, uncarpeted floors, ceiling without insulation. More hard surfaces = more reflections = more acoustic imbalance. This is why a minimally furnished guest room sounds so different from a full nursery with a rug, curtains, and soft furnishings.
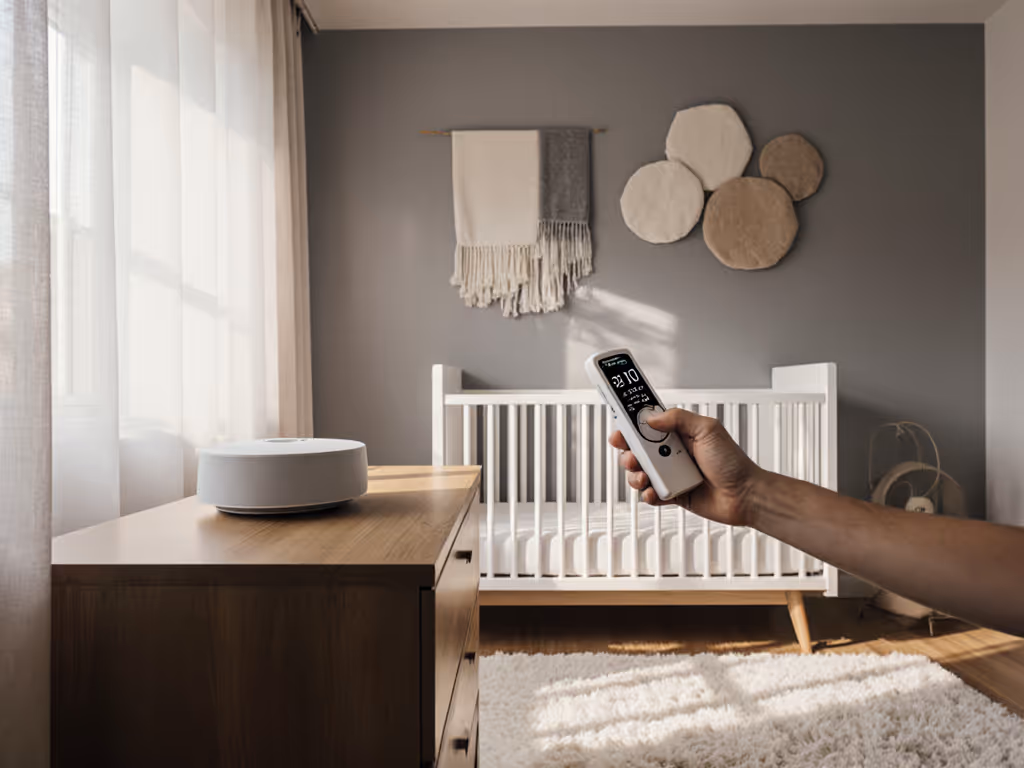
3. Position the Sound Machine Off-Wall and at Ear Level
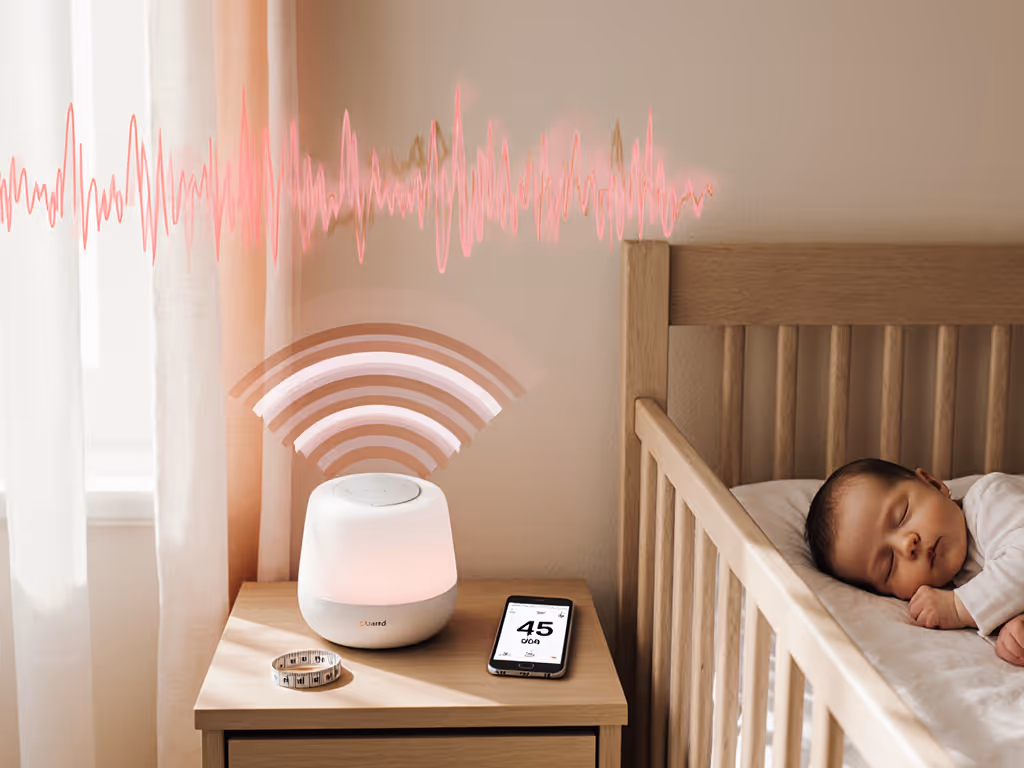
Don't tuck the device into a corner or flush against a wall. Place it at least 1-2 feet away from all walls, ideally on a shelf or small stand at ear level (crib height for the baby). This reduces bass buildup and prevents the device from acting as a speaker cone that amplifies low frequencies.
If the sound machine has a speaker, angle it very slightly toward the crib rather than into a wall. A 15 to 20 degree toe-in, borrowed from HiFi speaker placement, focuses sound where it matters and reduces reflections off hard surfaces behind the device.
Position the sound machine 1-2 feet from walls, at ear level (crib height), slightly angled toward the listening position.
4. Use Soft Furnishings and Textiles as Acoustic Absorbers
Every soft item in the room absorbs sound: curtains, rugs, upholstered furniture, even clothes in drawers. In a sparse room, sound bounces; in a furnished one, it's dampened. If your nursery sounds tinny or echoey, add a rug (especially a thick one under or near the crib area), curtains (even light ones help), and consider a small fabric wall hanging or tapestry at first reflection points.
You don't need expensive acoustic panels. A bookshelf with books, a cushioned chair, or a quilted changing pad cover all scatter sound. This is especially critical in small rooms where hard surfaces dominate (think apartments with tile floors or guest rooms with bare walls). For small apartments or echo-prone nurseries, see our apartment nursery guide.
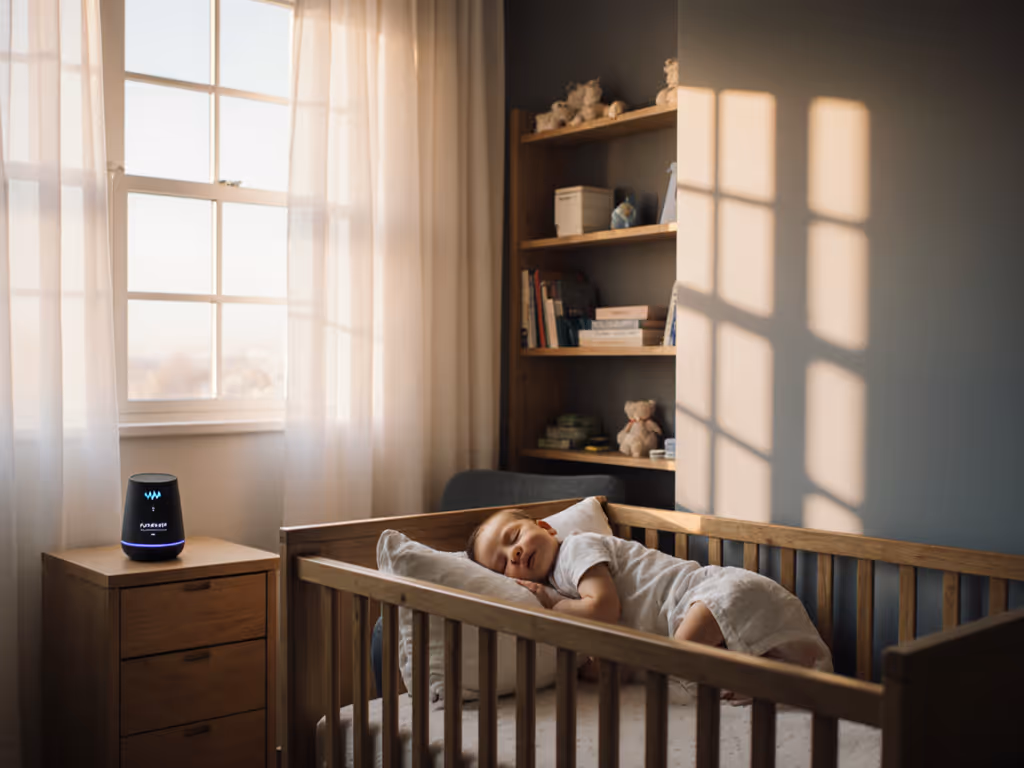
5. Avoid Placement Near Reflective Barriers
Keep the sound machine away from large glass (windows, mirrors, glass doors) and metal objects (crib rails, radiators). Glass and metal reflect sound crisply, creating flutter echoes (a distinctive flutter or shimmer that agitates rather than soothes). If your crib is near a window, hang curtains to absorb the reflection, not just for aesthetics.
Also avoid placing it directly below or above air vents, which can interfere with the consistent sound output and muddy the frequency balance.
6. Match Volume to Room Size and Distance
A key insight: decibel levels are distance-dependent. A sound machine measured at 6 inches from the speaker will read much higher than at 3 feet (crib distance). For safety and efficacy, aim for 50-55 dB at the crib, loud enough to mask typical household noise (traffic, doors, siblings) without overwhelming or harming hearing over hours. Review AAP-based volume and distance guidelines for safe, consistent setup.
Smaller rooms require lower volumes because sound reflects and accumulates; larger rooms need more. Start low, then increase in 1-2 dB steps until external noise is masked. Use a decibel app on your phone, placed at crib height, as a rough guide (not gospel, but a starting point).
7. Choose a Frequency Profile That Suits the Room's Acoustics
White noise contains all frequencies equally; pink noise emphasizes lower frequencies. For a deeper breakdown of white, pink, and brown noise for infants, see infant sound types. Brown noise is even deeper. A room that already rumbles (near traffic, thin walls, boomy basement) may worsen with brown noise; pink or white noise with boosted highs might feel harsh in a small, hard-surfaced room but balanced in a larger, softer space.
Start with pink noise in smaller rooms and small-room environments. If it sounds boomy, shift toward white noise. If it sounds scratchy, you may have a device with poor frequency balance (not a room problem). Consistent sound without noticeable peaks or troughs is the goal.
8. Create a Two-Minute Room Reset Checklist
When you move rooms (hotel, grandparent's house, sibling's room), repeatable settings save sleep. On arrival, measure the distance from the device to the crib. Identify hard surfaces. Adjust volume no more than 1-2 steps from your home baseline. If the room has bare walls, soften it slightly: hang a cloth, drape a blanket over a chair, or close closet doors to break sound reflection.
Write it down. Your checklist might read:
- Measure room length; position crib at 38% mark if possible
- Count hard vs. soft surfaces
- Place device 2 feet from walls, at ear level
- Start at 52 dB; adjust +/- 1 dB as needed
- Use pink noise; switch to white if boomy
This is the backbone of pack light, sleep right (minimal gear, maximum consistency).
9. Test in Your Specific Environment
Acoustic theory is a guide, not a guarantee. Every room is different. After setup, play white noise for 10 minutes at your chosen volume while standing in the crib area. Move around slightly. Does the sound feel even, or do you notice peaks (sudden loudness) and troughs (quiet zones)? Does it sound soothing or harsh?
If it's harsh, lower volume slightly or try a different frequency. If it's boomy, move the device slightly away from the rear wall or add soft furnishings. If external noise still intrudes, raise volume incrementally, but stay under 60 dB at crib distance to avoid hearing risk over extended hours. For data on which machines best mask traffic and sibling noise, see our noise masking lab results.
10. Commit to the Setup and Iterate Only When Needed
Resistance to constant tweaking is resistance to sleep loss. Once you've dialed in your home nursery, photograph the device's position, write down the volume and frequency settings, and leave it. Change only if the baby's behavior (sleep quality, night wakings) shifts or external noise increases.
On travel, use your checklist to recreate the setup quickly. This consistency is what tells a baby's nervous system this is the safe place, not the room itself, but the familiar sound and light within it. Small differences in room acoustics matter far less than the repeatability of the setup.
Next Steps: Build Your Room Acoustics Baseline
Start today: measure your nursery, identify the three hardest surfaces, and note the crib's distance from walls. This 5-minute foundation tells you whether you're working with a boomy small space or a dispersive larger one, and that knowledge guides every placement decision forward. Your repeatable setup begins with these numbers, not guesswork.
Related Articles