Sound Machines for NICU Graduates: Precise Control
By Noor Al-Masri • 19th Feb
Babies who graduate from the NICU face an acoustic culture shock. After weeks in an environment averaging 54 to 60 dB(A) (punctuated by ventilators, alarms, and monitor beeps), home can feel impossibly quiet, or worse, unpredictably chaotic. The solution isn't complicated, but it demands precision: NICU-graduate sound machines and sensitive-hearing baby sound environments require measurable, reproducible control backed by real-world testing and lab data. This guide walks you through selecting, positioning, and operating a machine that translates the familiar hospital soundscape into a portable, repeatable setup for your home, shared room, travel, or daycare (without guesswork, guilt, or hearing risk). For specialized preemie protocols, see our NICU sound transition guide.
Why NICU Graduates Need Intentional Sound Transition
Nursing staff at major hospitals emphasize the value of white noise machines for NICU graduates transitioning home.[3] Babies accustomed to the various hospital machine noises can struggle in quiet, unpredictable domestic spaces; white noise mimics the ambient sounds babies experienced in the womb and masks the irregular triggers (dogs barking, siblings, traffic, hallway doors) that destabilize light sleepers.[3] However, this benefit hinges on one critical variable: decibel level at the crib. Too soft and the machine fails to mask external noise; too loud and you risk hearing damage. The evidence is clear: researchers tested 14 different infant sound machines and recorded noise levels at 30 cm, 100 cm, and 200 cm to compare against the 50 dB recommended standard for hospital nurseries.[4] Your job is to know your device's output at the exact distance your baby sleeps (and to set it once, trust it, and repeat that same setting across rooms, homes, and travel).
1. Establish Your Baseline: The Two-Minute Room Reset
Before comparing machines, measure your space. You need three numbers: ambient noise level (traffic, HVAC, household background), peak disturbance (dog bark, sibling's voice, hallway activity), and your crib's distance from the machine. Use a smartphone decibel app (yes, they're inconsistent, but repeated use in the same app builds a usable reference).[4] Record the measurement at crib height, 30 cm away (typical placement). This baseline becomes your packing list.
For example: your apartment measures 52 dB ambient, peaks at 75 dB (traffic surges), and the crib sits 30 cm from a corner outlet. Your target is a machine delivering 55-60 dB at the crib, loud enough to mask peaks but within the safe margin. On a red-eye to Chicago, a hotel's humming mini-fridge beat every lullaby; with painter's tape, a travel diffuser, and a small machine set to 46 dBA at the crib, I carved out a quiet corner in a noisy room. Portable, repeatable settings turned chaos into rest and saved the next day. That discipline (measure once, execute twice) is the foundation of every recommendation that follows.
2. Match Machine Selection to Room Type and Noise Profile
Not all sound machines are built alike. Differences in frequency response (which frequencies are amplified or dampened), volume control granularity (how fine your adjustments can be), and self-noise (the machine's own hum or artifact) dramatically affect usability in real homes. Here's how to choose:
For Nurseries (Dedicated Baby Rooms, Moderate Ambient Noise)
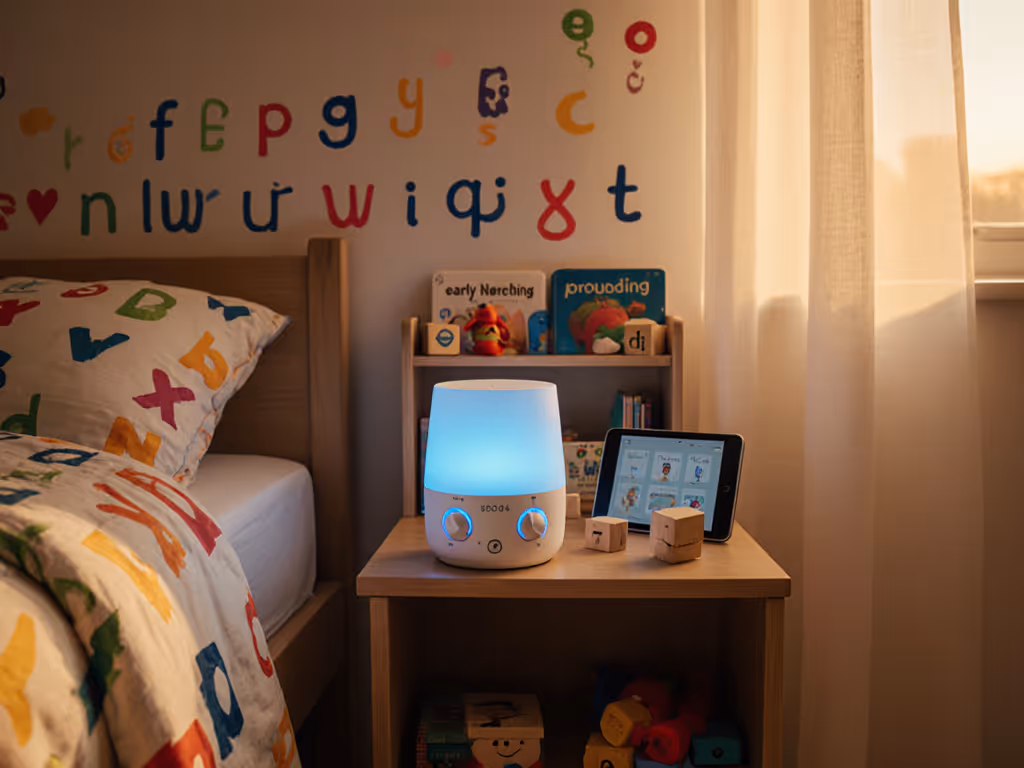
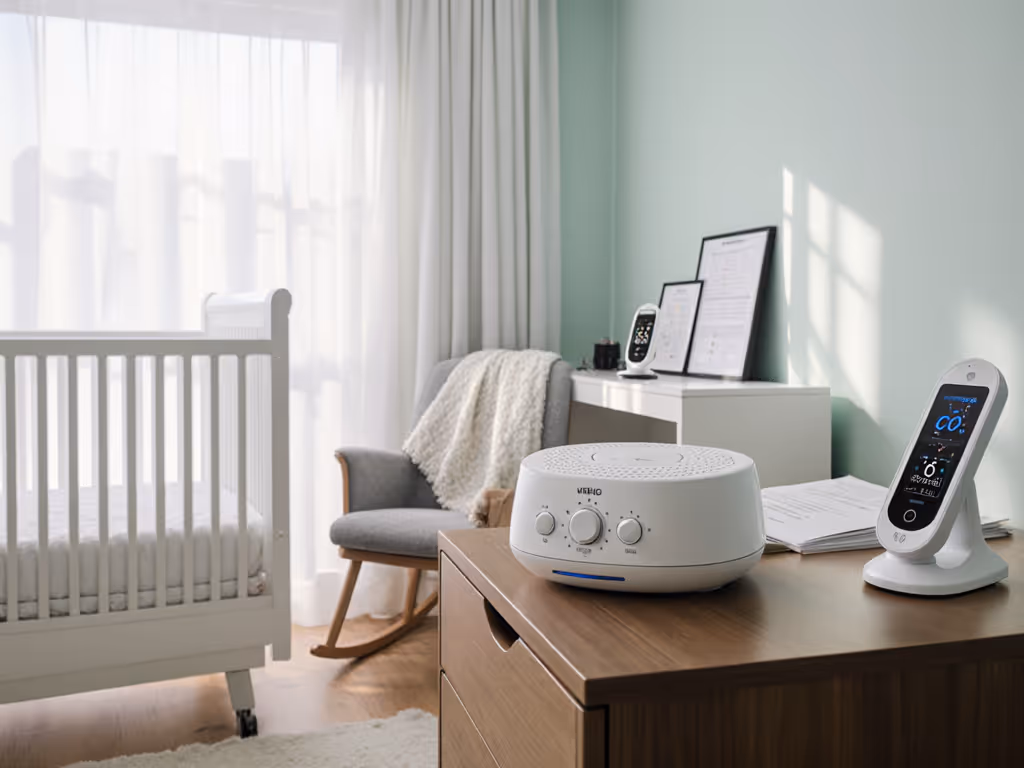
Your priority: feature richness, large sound library, and smart customization without sacrificing portability. The DreamEgg Nite1 Baby is the benchmark here.[1] Testing showed user-friendly setup, a large range of sounds and lights, and operation with or without the accompanying app.[1] What matters most: the machine has intuitive brightness settings and sound variety, so you can dial in a profile (e.g., fan-based white noise at 58 dB, dim light off) and leave it (no fiddling during night wakings).[1] The trade-off is a clunky power adapter and no back-up battery, so placement near an outlet is non-negotiable. If you're setting up a permanent nursery and can tolerate cord reliance, this is your machine.
For Shared Rooms (Parents + Baby, Siblings, or Multi-Crib Setups)
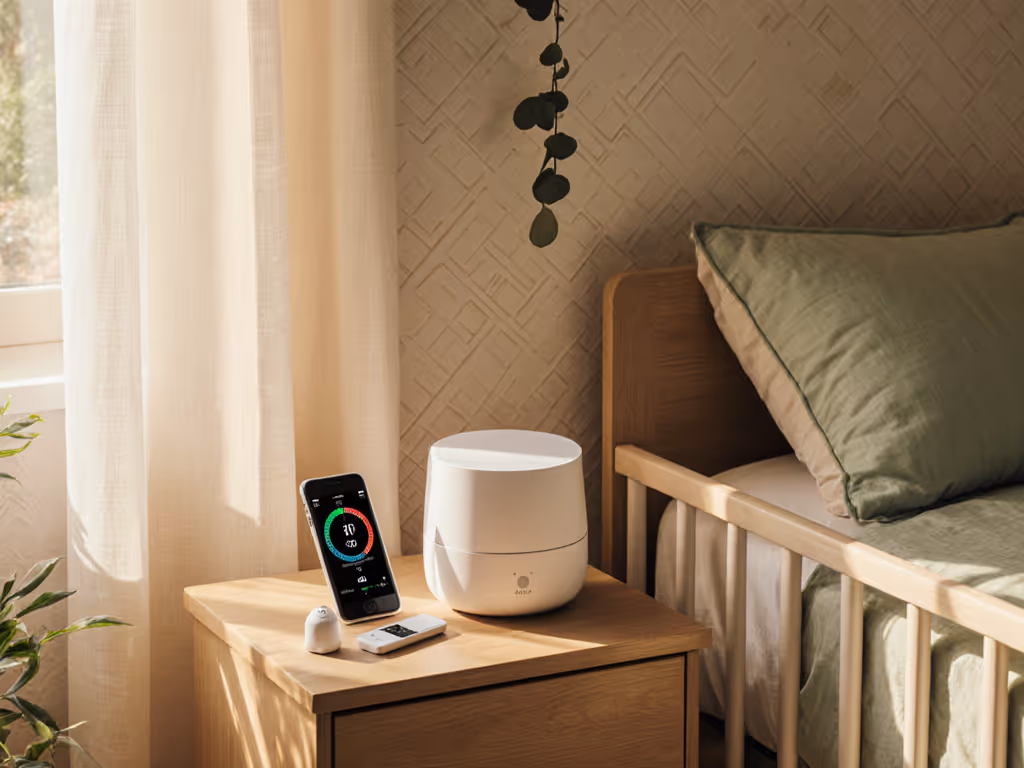
Your priority: compact footprint, fine volume control, and the ability to mask one sleeper's noise without waking another. Get placement tactics in our shared room sound zoning guide. The Yogasleep Hushh 2 excels here.[1] At 3.4" (L) x 1.6" (W) x 3.9" (H) and 0.3 lbs, it fits in a diaper bag or a shelf gap.[1] Sound quality and volume control are excellent, with a signature fan-based white noise that mimics fan whirring realistically, plus nature sounds and lullabies that are crisp and full-bodied.[1] The device has backlit buttons, an adjustable night light, and six sound options, enough variety without paralyzing choice.[1] Testing showed only three tracks (fan, nature, lullaby variants), which is limiting compared to larger machines, but the constraint forces you to pick once and stick to it. For shared-room dynamics, this repetition is gold: you set the Hushh 2 at your predetermined decibel level, and the predictability reduces trial-and-error every night.
For Travel, Daycare, and Hotel Swaps
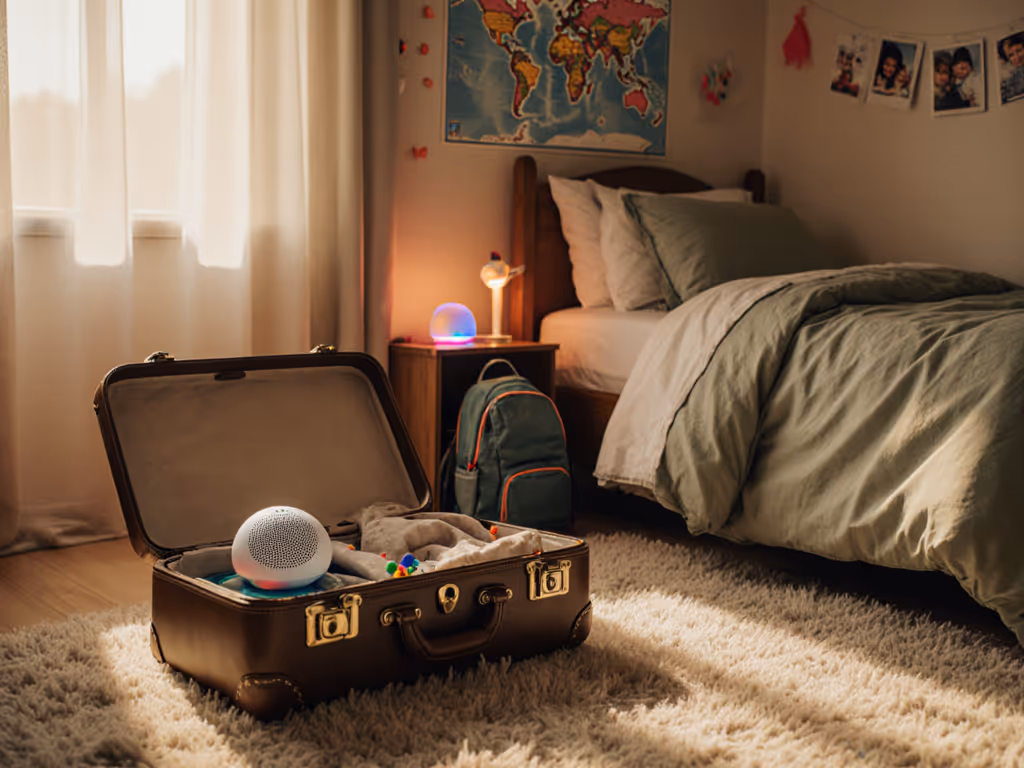
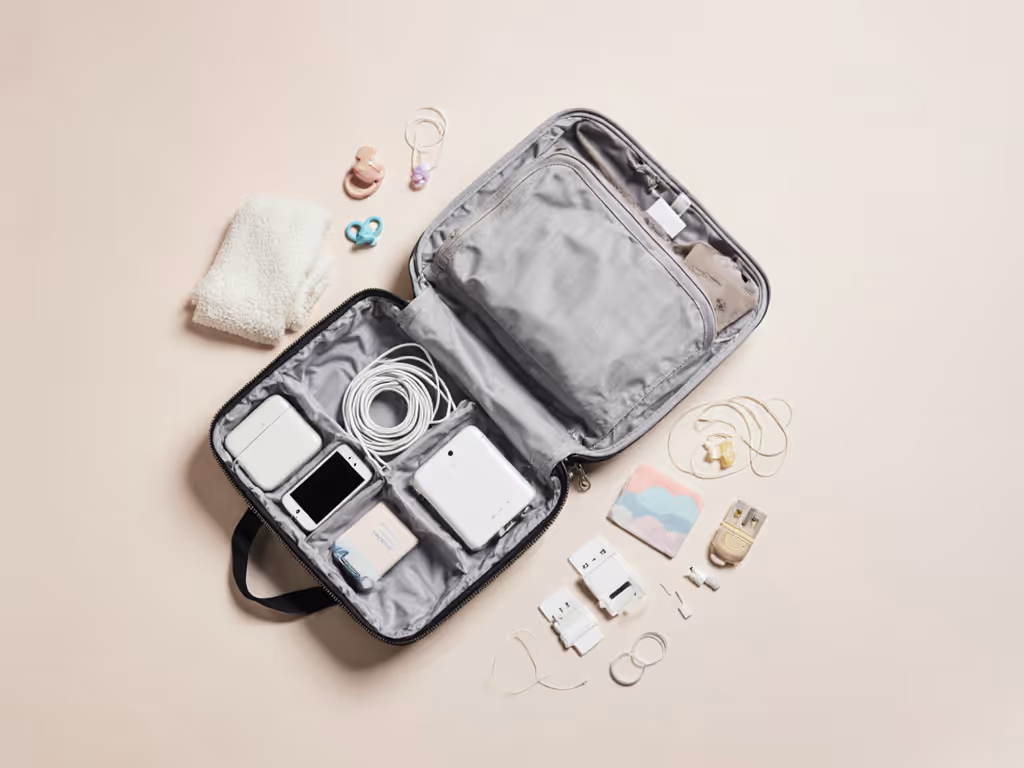
Your priority: ultra-portability, battery reliability, consistent output across rooms, and a feature set so simple you can reset it in two minutes. The BGOVERSS White Noise Sound Machine is your budget workhorse.[1] Priced well under $20, this machine has 14 high-quality, realistic sounds, a memory feature that saves your last volume and sound choice, and excellent volume control.[1] The back-lit buttons make it usable in dark rooms, and the 10-color night light offers a soft, adjustable glow.[1] Most importantly, the memory feature means you set it once, and when you power it on in a hotel or at Grandma's house, it returns to your exact settings (no hunting through menu trees at 2 a.m.). The trade-off: the night light isn't as bright as others, and the touch buttons can be sensitive, triggering accidental changes if you brush them. Mitigate this with painter's tape over unused touch zones (a cable-tape trick that adds only grams to your packing list). Pack light, sleep right: the BGOVERSS compresses routine into a genuinely portable form. For model picks and trade-offs, see our portable crib-safe sound machines.
3. Validate Decibel Levels and Frequency Safety
The American Academy of Pediatrics and hospital nursery standards recommend a ceiling of 50 dB for continuous exposure in a baby's immediate sleep environment.[4] For placement and volume specifics, use our AAP volume and distance guide. However, the reality is messier. NICU graduates have grown acclimated to 54-60 dB(A), so a 50 dB machine may feel too quiet relative to their baseline. The key: don't exceed 60 dB at the crib, and measure at the actual crib distance, not across the room.[4]
Frequency matters as much as decibels. Hospital environments are dominated by low-frequency machinery (fans, ventilators, CPAP units); this teaches a baby's developing auditory cortex to filter low tones. Consumer machines often emphasize mid and high frequencies, which can agitate rather than soothe if not balanced carefully.[2] A machine with a flat or bass-forward frequency profile (like a genuine fan-noise simulation) is less likely to spike and startle than one with exaggerated highs. When comparing machines, ask the manufacturer for frequency-response charts or third-party acoustic test data. If they don't provide it, note the omission as a red flag: transparency correlates with confidence in safety.
4. Test Volume Control Granularity and Consistency
A machine with coarse volume steps (e.g., five levels: 40, 50, 60, 70, 80 dB) forces you into an imperfect compromise; a machine with 20+ steps or smooth, motorized adjustment lets you dial in 58 dB precisely and repeat that setting everywhere.[1] The DreamEgg and Yogasleep Hushh 2 both offer fine-grain control, which is why they're reliable for the precise approach this article advocates.
Also test for consistency across multiple units of the same model. Product inconsistency is common: unit A delivers 58 dB, unit B delivers 62 dB at the same setting. If you're buying a second machine for daycare or a sibling's room, verify that settings carry over (e.g., through a photo of your first machine's dial, or a note about the exact button combo). Consistency is how you turn one successful setup into a repeatable system.
5. Prioritize Memory, Auto-Restart, and Minimal Self-Noise
A machine that remembers your settings eliminates nightly fiddling.[1] The BGOVERSS memory feature was lauded in testing precisely because it collapsed routine into one-step operation: plug in, it starts at your predetermined sound and volume.[1] When evaluating machines, confirm that they:
- Remember your last setting and restart to it after power loss (critical if your home or hotel loses power during naptime)
- Generate minimal self-noise (fan hum, electrical whine, or distortion at low volumes)
- Have no audible loops, clicks, or dropout artifacts that interrupt the continuity of sound (testing this requires listening for at least 30 seconds at your intended volume; many machines loop every few minutes, which jars light sleepers awake)
- Support USB-C or AA batteries for portability; proprietary chargers and sealed lithium batteries are fine for stationary setups but risky for travel
6. Choose Light Profiles That Support Circadian Rhythm, Not Disruption
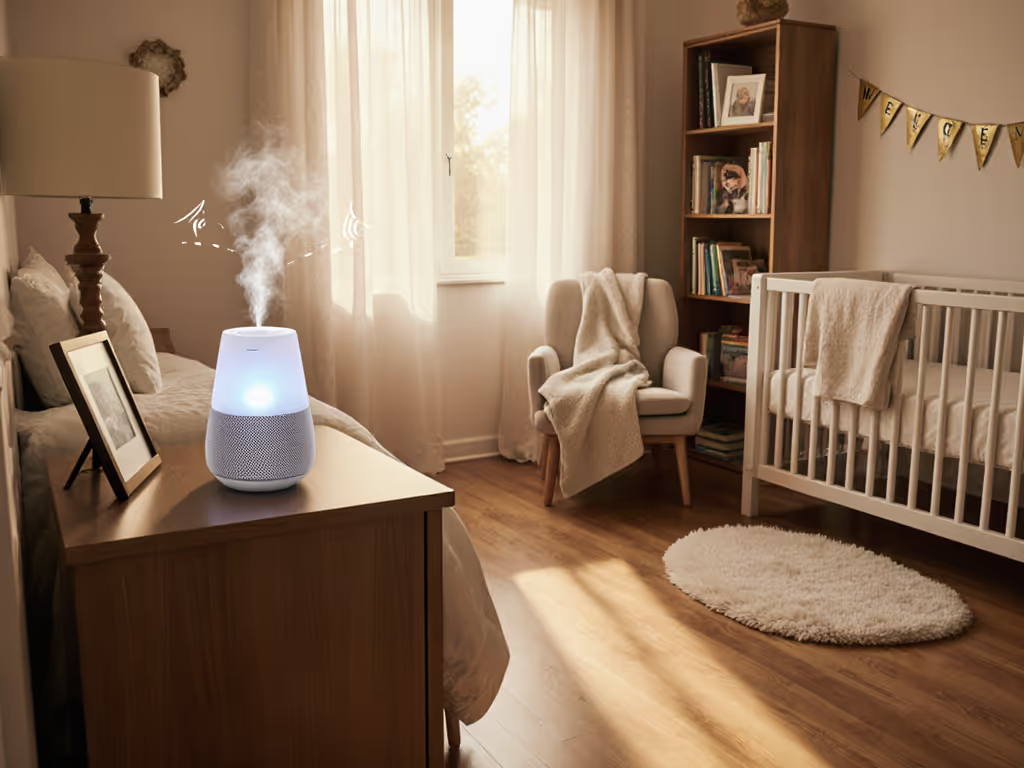
Most modern machines include a night light. This feature is genuinely useful because you can perform diaper changes or spot-checks without harsh overhead lighting that resets the baby's circadian clock. However, a bright LED-lit interface facing the crib is the opposite of helpful. The Hatch Rest 2nd Gen and DreamEgg Nite1 Baby both offer brightness adjustment, which is essential.[1] Test the dimmest setting in your actual room: can you still see the baby, or is it too dark? A rule of thumb: the light should be dimmer than the smallest night light you've used; if it's still brighter, covering the front with painter's tape (same trick, different purpose) can reduce disruption.
7. Plan the Physical Setup: Placement, Distance, and Safety
Once you've chosen your machine, optimize its position:
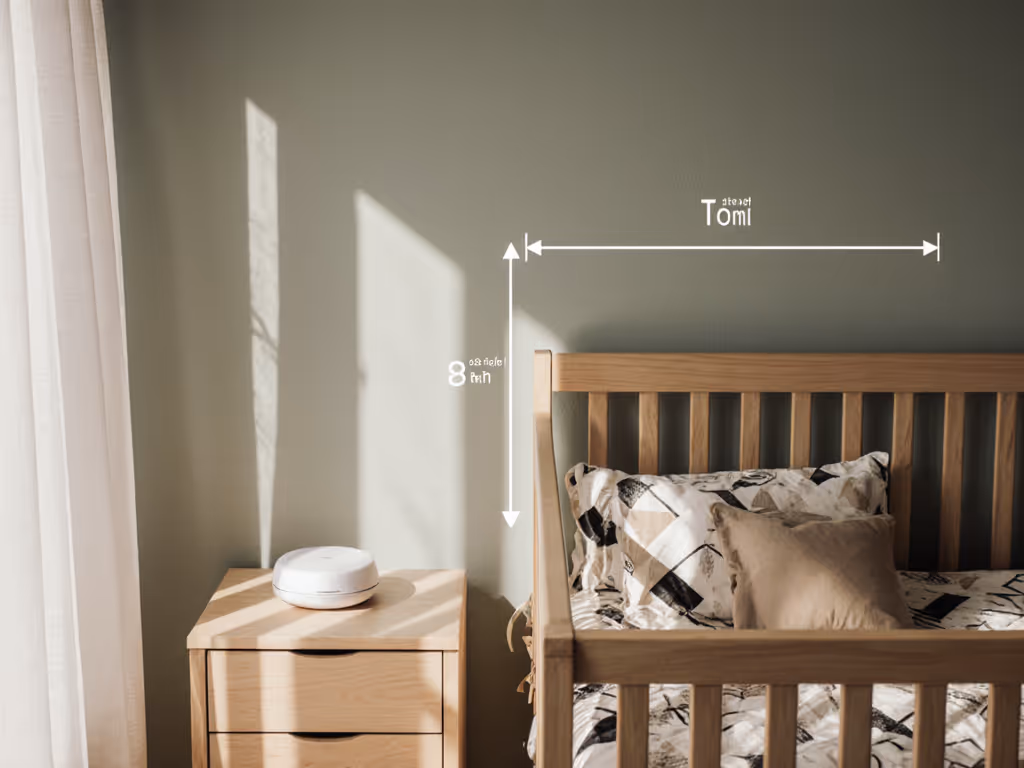
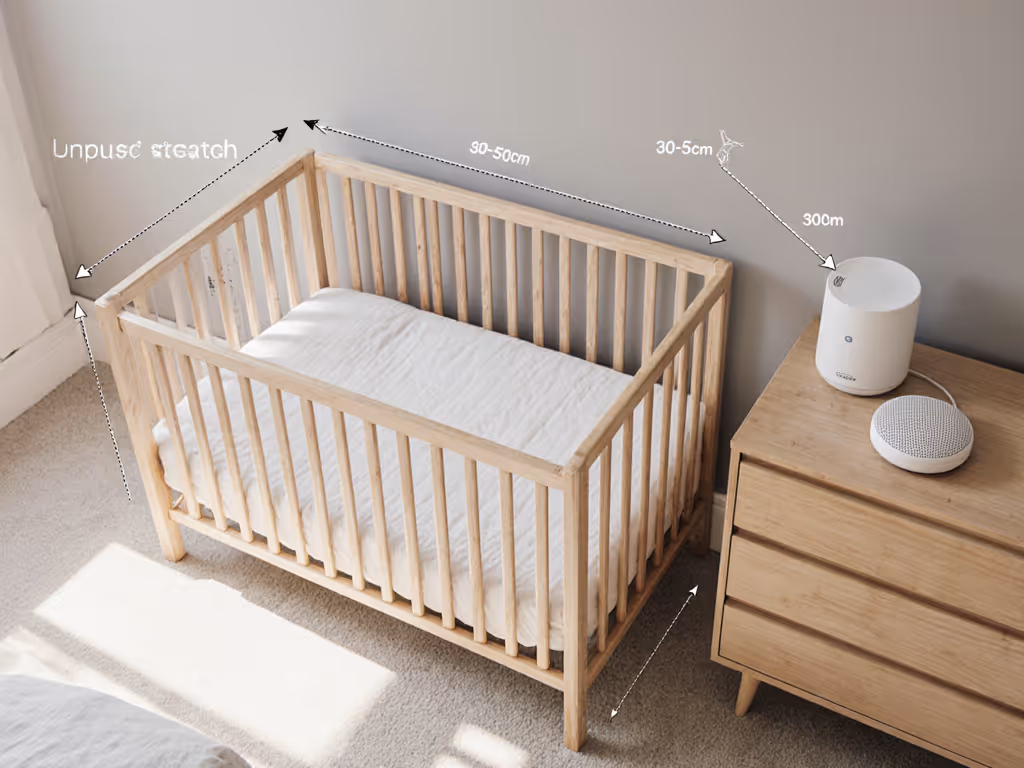
- Place the speaker 30–50 cm from the crib, at ear level or slightly above (so sound disperses downward and slightly around, not directly into the baby's ear canal)
- Angle the speaker toward the baby's head, not directly at it, to avoid acoustic hotspots
- Keep the machine outside the crib (never inside, where it could be grabbed, cause tangles, or become a suffocation risk)
- Run cables behind furniture or tape them low along the wall to prevent tripping and to hide them from curious toddlers
- Test the volume at crib level with a decibel app before the first night, and re-test if you move the machine or change rooms
This setup takes two minutes once you've decided on placement; the investment yields consistency every night.
8. Establish Preset Profiles for Common Environments
Once your home machine is dialed in, document it:
- Machine model, sound choice, volume setting, light brightness, and distance from crib
- Ambient noise level at baseline and peak
- Room size and echo characteristics (small rooms tend to amplify bass; large rooms need more volume for the same perceived loudness)
When you travel or set up a secondary location, use this profile as your starting point. Measure the new room's ambient noise; if it's similar, use the identical settings. If it differs, adjust volume by 2–3 dB increments and re-measure. This document becomes your packing list (the single source of truth that keeps routines coherent across contexts).
9. Navigate the Cautions: Avoiding Sleep Dependency and Hearing Harm
A nuanced concern has emerged: reliance on sound machines without clear safety guardrails can create dependency, and some research suggests parents should approach white noise cautiously.[8] The rebuttal is evidence-based: white noise itself is not harmful if output is controlled, but inconsistency is harmful (sudden silence, abrupt volume changes, or irregular access to the machine destabilizes sleep and potentially creates crutch-like dependency). By contrast, consistent, measured white noise at safe levels provides predictable sensory input that mirrors the NICU and helps the baby develop self-soothing in a stable environment.
To avoid the dependency trap, use the machine only during consolidated sleep periods (naps and nights), not for every fuss. Keep the volume low enough that the baby can still hear you talking or moving, which maintains responsiveness to your cues. Plan a gradual fade-out strategy for later (6-12 months), where you incrementally lower volume or run the machine for shorter duration; a machine with fine volume control makes this painless. When you're ready, follow our toddler sound machine weaning protocol.
Hearing safety is paramount. Decibel levels above 60 dB at the crib, combined with lengthy exposure, can delay auditory cortex development if sustained over weeks.[2] By staying at or below 60 dB, measuring at the crib, and choosing machines with balanced frequency profiles, you protect hearing while providing therapeutic noise.
10. Create Your Purchase Decision Framework
Use this checklist to compare machines:
- Measured output at 30 cm (crib distance): Does the manufacturer or independent reviewer provide this? If not, request it or pass.
- Volume control steps: Can you dial in increments of 1–2 dB, or are you forced into coarse jumps?
- Memory and auto-restart: Does it remember your setting after power loss?
- Frequency response: Is it balanced, or is there a frequency peak that could be harsh?
- Portability: Weight, battery or cord requirement, and durability for travel.
- Self-noise and artifacts: Does it loop, pop, or hum audibly at low volumes?
- Light control: Is the night light dimmable to below the ambient light in your room?
- Price and total cost of ownership: Factor in batteries, replacement units for multiple rooms, or backups.
- Warranty and support: Can you contact the manufacturer if sound quality degrades?
- Your actual use case: Is this for a stationary nursery (DreamEgg), a shared room (Yogasleep Hushh 2), or travel (BGOVERSS)?
Align each product to your context. A single machine cannot excel at all three; the best approach is one primary machine tuned to your main sleep space, and a secondary travel machine with identical presets but designed for portability.
Moving Forward: Build Your System, Not Your Anxiety
The challenge with sound machines isn't the technology, it's the uncertainty. Parents inherit conflicting advice, manufacturer claims unsupported by decibel data, and a deep-seated guilt about relying on any tool to support sleep. The solution is to anchor decisions in measurable data: your room's noise profile, your machine's output at the crib, and a repeatable setup you test once and use consistently.
Start by measuring your space this week. Download a decibel app, take three readings at different times (quiet morning, active afternoon, peak evening), and record the range. Then choose a machine from the tested options above that matches your primary use case. Set it, measure the output at the crib, and document those settings. Once you've done this once, the work is complete (you can replicate it at Grandma's house, in a hotel room, or in your second child's nursery without second-guessing).
Your NICU graduate has already adapted to a highly controlled acoustic environment; your job is to rebuild that predictability at home. With the right machine, precise settings, and a packing list rooted in data, you transform sleep from a nightly gamble into a repeatable ritual. Pack light, sleep right, and rest assured that the science backs your choices.
Related Articles