Small-Space Infant Sound Machines: Reliable Apartment Picks
By Diego Martins • 4th Apr
Small apartments force a hard truth: there's nowhere to hide a sound machine. Place it too close to the crib, and you violate safety thresholds. Place it too far, and it becomes useless. The task isn't to find a miracle device; it's to understand the constraints, measure twice, and choose equipment that performs predictably without artifact. I've spent years stress-testing machines for coil whine, loop seams, and volume irregularities, and what I've learned is this: safety and stability are non-negotiable. The devices worth your money do one job reliably and stay consistent across dozens of nights. Shiny features and smartphone apps are liabilities in a nursery, not assets.
This guide walks you through the real trade-offs of sound masking in confined spaces, backed by lab data and endurance testing, so you can make one decision and trust it.
1. Understand the Safety Baseline Before You Buy Anything
The American Academy of Pediatrics recommends that sound machines in hospital nurseries remain at 50 dB or lower[4]. The CDC sets a slightly higher ceiling at 60 dB[4]. For step-by-step placement and volume rules, see our AAP volume and distance guide. The critical detail most parents miss: these measurements are taken at crib distance, not across the room[3]. When researchers tested 14 commercially available infant sound machines at maximum volume from crib-side and table-side placement, all exceeded 50 dB, and some reached 85+ dB[6], far above safe levels.
In a small apartment, this matters immediately. If your bedroom is 10 feet wide and the crib sits 4 feet from the far wall, the speaker must travel sound through that entire path while staying quiet enough at the baby's head. Use a sound meter app like Decibel X to verify at-crib levels, not manufacturer specs[5]. Manufacturers almost never disclose at-crib measurements, so any unit claiming "50 dB" without specifying distance is incomplete data.
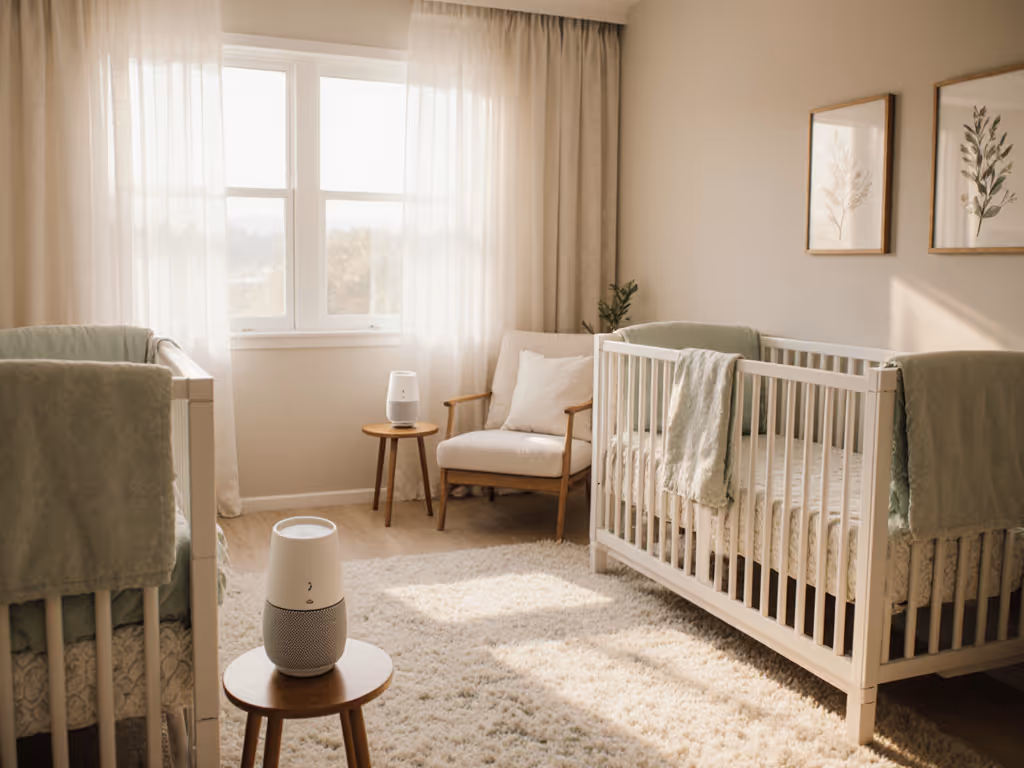
The placement non-negotiable: position the device at least 7 feet from the crib[1][5]. In a small room, this often means the opposite dresser or a high shelf. Yogasleep recommends a minimum of 3 feet[8], but 7 feet is the safer consensus when apartment acoustics are unpredictable.
2. Choose Your Frequency Profile Based on the Noise You're Actually Blocking
Not all white noise is equal. Pink and brown noise (which emphasize lower frequencies) are neurologically gentler than pure white noise and more effective at masking specific urban irritants[5]. Get a deeper breakdown of white vs pink vs brown noise for infant sleep.
Research shows that continuous, monotonous white noise can compromise auditory development; natural or varied sounds with gentle frequency shaping are preferable[5]. This is where a control-group baseline matters: test the machine against the exact noises in your space.
- For high-pitched intrusions (sirens, dogs, children's voices): pink noise in the 200-500 Hz range, placed above crib level[2]
- For low-frequency drones (traffic, HVAC, upstairs footsteps): brown noise below 200 Hz, placed below crib level[2]
- For mixed urban noise: brown noise offers the broadest coverage; a speaker floating in a small water basin can amplify the low-end rumble while absorbing mid and high frequencies[2]
The key trade-off: brown noise is effective but can sound boomy in small rooms. Pink noise is more balanced but may not mask deep street traffic. Before buying, play sample tracks in your actual apartment at safe volumes (use that meter app) and listen for artifacts: clicks, pops, or loops that indicate cheap DSP processing or worn playback heads.
3. Test for Loop Seams and Noise Artifacts in Your Space
This is where many cheap units fail in real homes. A device may measure clean in a lab but exhibit a barely perceptible click every 10-15 seconds when the audio loops back on itself. For a light sleeper, especially during the vulnerable period between sleep cycles, that artifact is enough to derail an hour of settled sleep.
I once traced a mysterious 2 a.m. click in a nursery to a budget unit's sloppy loop seam, the kind you'd never notice in a store but becomes maddening during week two of use. After swapping to a simpler model that played clean and steady across the band, the room finally stayed quiet. Since then, I've insisted on extended testing: run the device for 60-90 minutes on repeat in your bedroom at night, door closed, with the crib-side microphone of your meter app live-logging. Any pop-on events, sudden volume jumps, or rhythmic artifacts will show up.
No loops, no clicks is not a luxury; it's the baseline for endurance. Compare models in our non-looping sound machines test to avoid subtle seam clicks.
4. Demand Fine Volume Control and Reliable Auto-Off
Most baby sound machines have volume knobs that jump in large, unusable increments. You set it at position 2, and it's slightly too quiet. Position 3 is noticeably too loud. This forces parents into a compromise that doesn't work: either the baby wakes to ambient noise, or you risk overexposure.
Look for machines with tactile, fine-stepped volume control (increments of 1 or 2 dB, not 5 dB jumps). Many adjustable models, like the Momcozy Portable Sound Machine, offer 20 soothing sounds and easy volume control paired with timer and auto-off features[1]. The timer function is essential: set it for 30-90 minutes, and the machine shuts down once the baby is asleep, avoiding continuous exposure[1]. Machines that lack memory (resetting to maximum volume after power loss) are unstable choices; every interruption forces you to recalibrate, breaking the predictable routine that infants need. See which units recover settings in our power outage auto-restart tests.
5. Prioritize Portability for Shared Rooms and Travel
Small-space living often means shared rooms, baby with parents, or two siblings splitting a space. You need a device that maintains consistent settings when moved, has robust controls (not just an app), and is light enough to carry.
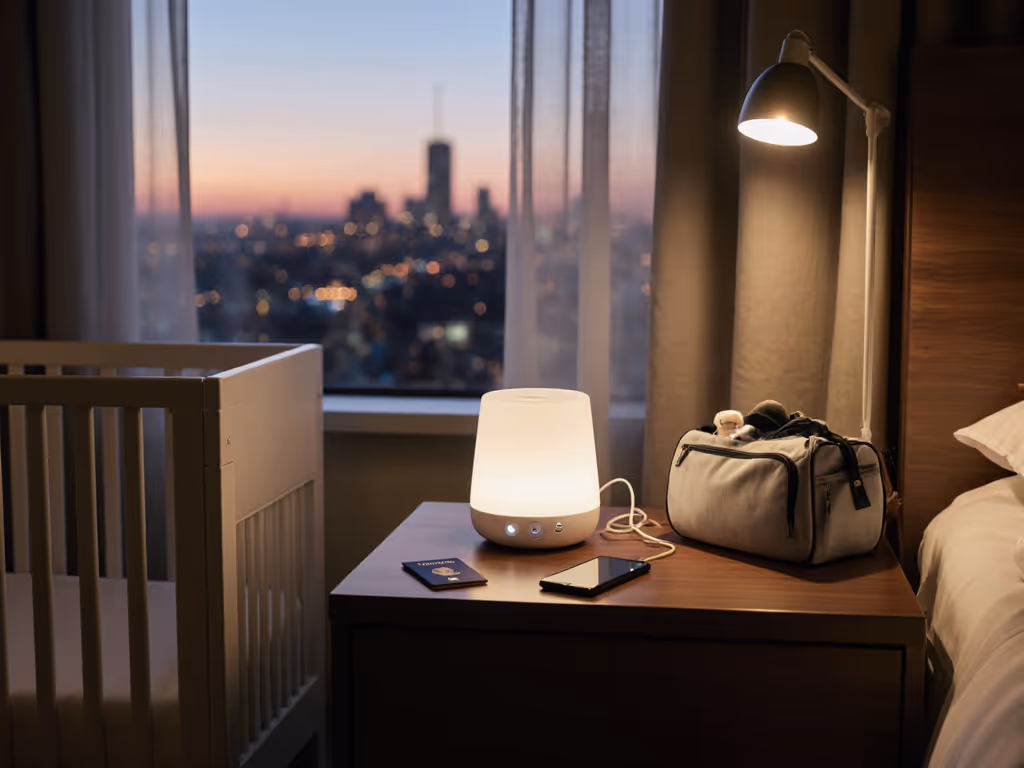
Compact, battery-powered units with analog controls (no Bluetooth, no Wi-Fi) are the most reliable. A USB-C rechargeable machine with a 10-hour battery life, tactile buttons, and a manual volume knob will outlast and outperform a connected device. When you travel to a hotel or grandparent's house, the last thing you need is app lag, password resets, or a device that wakes on startup at maximum volume.
For shared rooms, placement becomes even more tactical. If a parent wants to watch TV in the bedroom while the baby sleeps, position the sound machine outside the nursery door to create a protective acoustic wall that muffles environmental chaos without having the machine directly in the sleep space[5].
6. Calculate True Cost Over the Warranty Period
A budget machine at $25 sounds appealing until it fails after 8 months, and you're buying a replacement. Track cents-per-night over the full warranty: a $120 machine with a 3-year warranty costs roughly $0.11 per night. If it lasts 1.5 years, that doubles. If the cheap $25 unit lasts 6 months, the cost-per-night jumps to $0.14. Reliability and consistency compound over time.
Beyond raw lifespan, consider the hidden cost of unreliability: missed sleep due to artifacts, power-loss resets that disrupt routines, and the mental load of tinkering with settings. Safety and stability are non-negotiable; pay only for features that last.
7. Avoid Unnecessary Connectivity and Extra Features
Many modern sound machines tout smartphone apps, Wi-Fi scheduling, and mood lighting. In a nursery, these are liabilities. Apps introduce latency and battery drain on your phone. Wi-Fi adds a point of failure and privacy concerns. Mood lighting that's too bright disrupts the dark environment infants need. A machine with a simple off/on switch, manual volume knob, and reliable timer will outperform a "smart" device every time.
Feature fatigue also increases risk: more components mean more points of failure. Stick to essentials: sound selection, volume control, timer, and stability. A Decibel X reading at crib distance with a simple, proven unit beats a 10-mode connected device with no at-crib specification.
8. Verify At-Crib Measurements in Your Room Before Finalizing
Before committing to a purchase, request the return or demo policy and bring your meter app to the store, or ask the retailer to measure at-crib levels in your apartment setup. Place the device exactly where you plan to use it, run it at the volume you intend, and measure at your baby's head height. The target is 50 dB or lower[1][5]; don't exceed 60 dB[4].
If the retailer can't provide this, contact the manufacturer. Any unit with complete transparency about at-crib measurements and frequency profile is a safer bet than one relying on generic marketing claims.
Summary and Final Verdict
Small-space infant sound machines succeed on fundamentals: precise placement 7+ feet from the crib, fine volume control kept at or below 50 dB (measured at crib distance), a frequency profile matched to your specific noise environment, and rock-solid reliability with no loops, clicks, or unexpected volume jumps. The best choice for a 10-by-12-foot apartment nursery is not the loudest or smartest machine; it's the simplest one that delivers consistent, artifact-free sound across weeks and months of use.
Skip the app, the color-changing lights, and the 50-mode library. For room-specific setup in tight homes, see our apartment nursery setup guide. Choose a compact, USB-rechargeable unit with manual controls, a reliable timer, and a proven track record of stable playback at safe volumes. Measure your setup twice before buying, run a 60-minute live test in your own room to catch loop seams, and track the true cost-per-night over warranty. Your pediatrician won't recommend features; they'll recommend safety, consistency, and predictability. Buy for those, and you'll reclaim sleep for your household instead of chasing one marketed gimmick after another.
Related Articles